Why would you want to set one up in your homelab
Most of the professional environments I’ve come across on my Journey, including college, governments, law firms and many others were using Microsoft services, it is really does help to know how this stuff works.
Windows Servers often host multiple services, such as Active Directory Domain Services, file servers, DNS servers, and DHCP servers. By setting up a Windows Server in your homelab, you can familiarize yourself with the architecture and functionality of these services in an enterprise environment. (Notion AI)
Actually setting up your server
There are not that much resources needed to run a Windows Server VM, you only need 1 CPU core and 2 GIG of RAM. But it is recommended to use 4GB of RAM and 2 CPU core to make things run smoother on your lab, especially if you set up multiple Services on the Server.
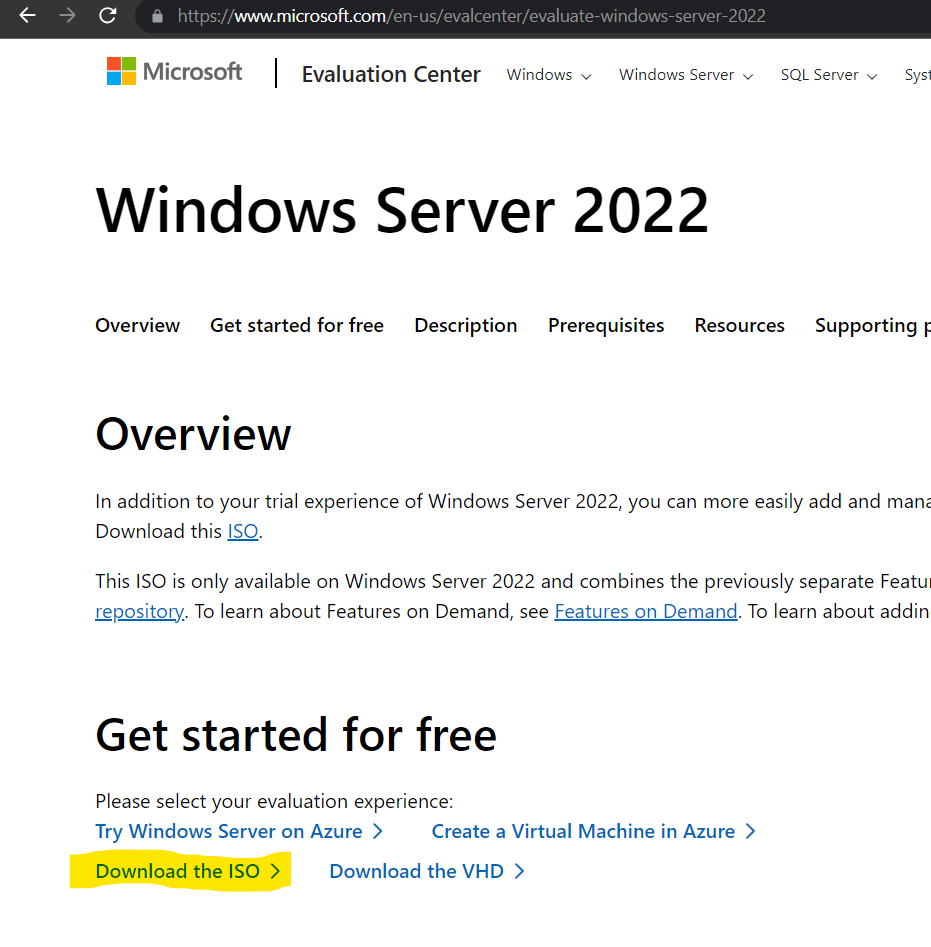
Step one is to download the Windows Server ISO from Windows Evaluation Center here (https://www.microsoft.com/en-us/evalcenter/evaluate-windows-server-2022). All you need to do is fill up some form and you get the ISO for Windows server. You can use the Evaluation version free for free for 180 days (and either reinstall or license it after)

Next Step is to install the VM in your Hypervisor. I personally use VirtualBox, so I will link this video here, but the process should be the same for any other Hypervisor you use. If you Installed Windows 10 VM from the first Topic, the process is pretty much the same thing, just different post install tasks I will mention after. (The video bellow is the shortest okay video I found XD). Just make sure to get 2 cores and 4GB (4096) of RAM to your server at least and 40GB storage should be good for lab use. Also, pick Datacenter and Desktop Experience.
And again, if there are any issue during the install, just refer to the previous Topics and/or just look up the Error message and watch a video on how to solve it.
Important Post Install tasks
The First thing you need to do after you finish Installing Windows Server is the usual Windows Update in setting to make sure you’ve got all that stuff.
The next important task is to assign a Static IP to your server. In Server Manager (the thing that open by default) You need to go to Local Server Tab on the Left > Click on the IP next to Ethernet > Open Ethernet/Network Adapter > Go to Properties > In Properties, Uncheck Internet Protocol Version 6 and Double Click on Internet Protocol Version 4 (IPV4) to manually configure it.
When you’re in the IPV4 properties, check ‘Use the following IP Address’ and set up an IPV4 address from the Range of IP you created for your internal Network in Topic 2. The Network I set up for me there is 192.168.100.0 /24, and I had the adapter automatically configured so I have my settings configured like the photo bellow.

If you configured your Internal Network the same as the one in Topic 2, with a 192.168.69.0 /24 with 192.168.69.1 on the Adapter, then you can use the following settings. Note that you can see that I used a .250 for the Server IP, which not on the list of IP that the DHCP server can lease, but still in the range of the Subnet. You usually want your servers to be in the top firsts, or couple lasts (pick a standard you like and keep it consistent). I have mine set up to be at the bottom lasts to remember them easily, especially if you manage multiple servers.

Once you get your network settings properly configured, just click OK and close the tabs. Then Just Power off your VM, since we’re going to change the Adapter settings to have the server Use the Host-only network. Same process as before. Select Your Server > Go to Settings > Network Tab > Select an Adapter (note you can config a new adapter and just disable the other ones if you want to work with multiple Subnets later) > Attach the adapter to Host-only Adapter and Select the Network You created so your VMs can interact with one another. There will be some experiments with this on later Topics, it’s pretty fun to test things out when you expand your playground.

Conclusion (Notion AI, all of it)
Setting up a Windows Server in your homelab offers valuable learning opportunities and hands-on experience with enterprise-level IT infrastructure. By following the steps outlined in this blog post, you can create a testing environment to explore various server configurations and gain practical skills that are highly sought after in the IT industry.
Remember, a Windows Server in your homelab is a powerful tool for learning, testing, and preparing for real-world IT scenarios. So, roll up your sleeves and embark on this exciting journey of Windows Server exploration!
Stay tuned for more articles exploring the main services you can use on a Windows Server, such as Active Directory, DNS, DHCP, and Group Policy Objects.
Happy server tinkering!
(I mean can you believe I didn’t write a single thing on this outro? whaaat XD It’s not bad at all!)